
I treat my art journal as more of a journal with art in it, so it is naturally going to be very personalized. But here are my TOP 5 ways to personalize an art journal that anyone can try.
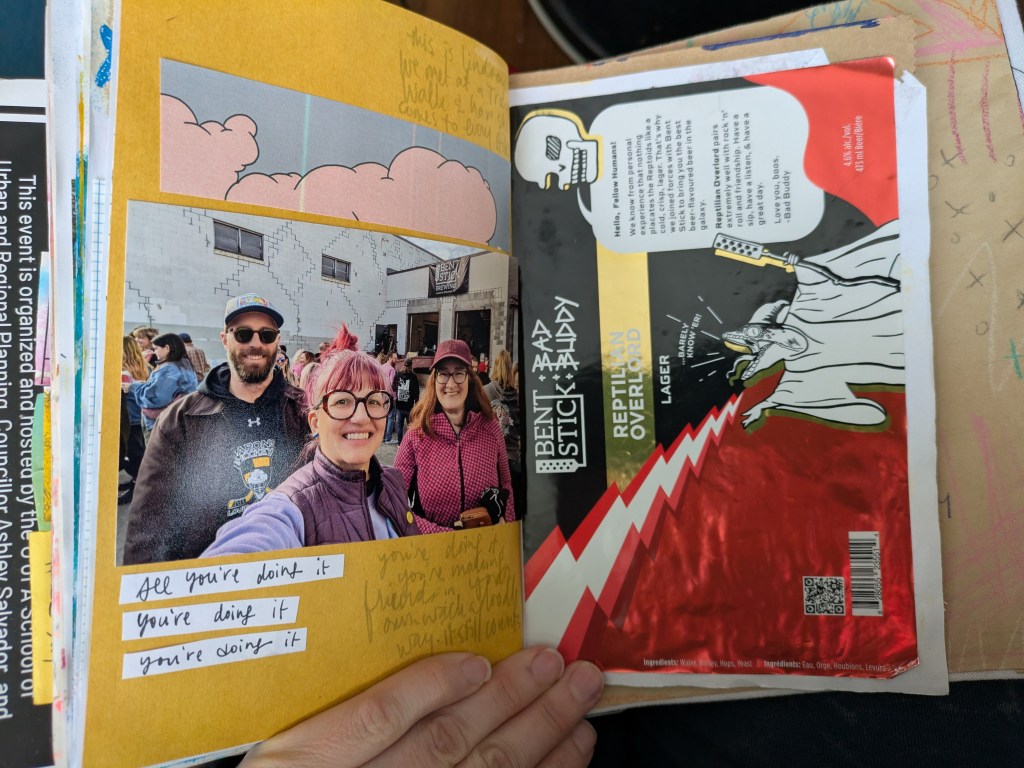
ONE: PRINTED PHOTOS
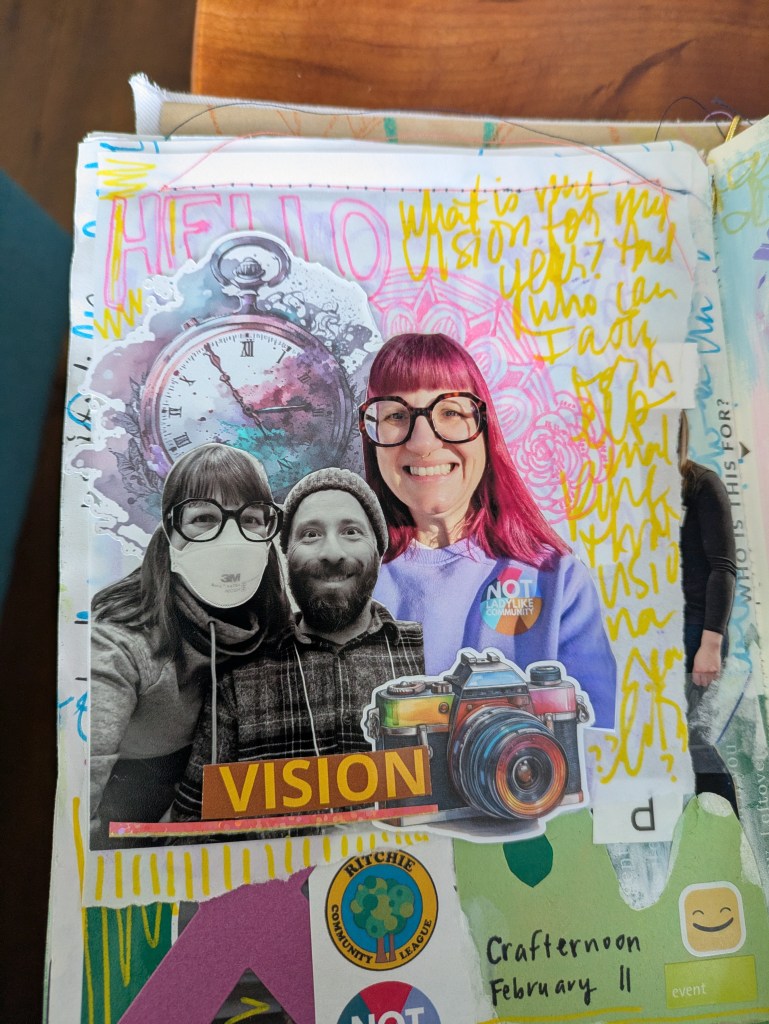
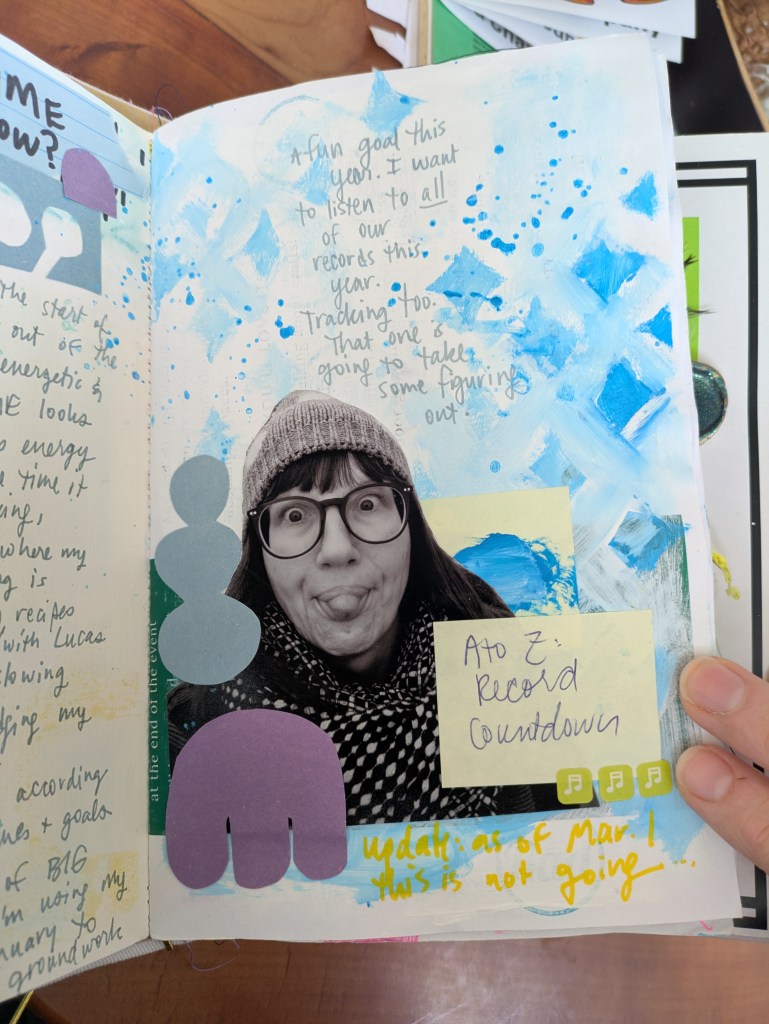
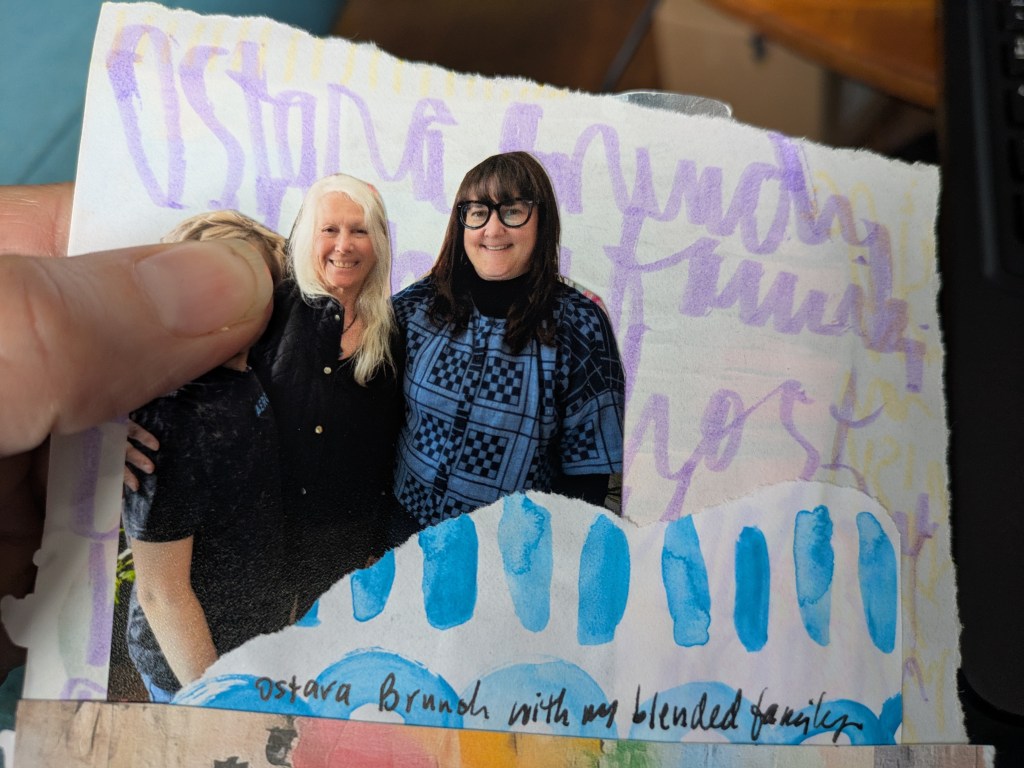
Being a scrapbooker at heart, my art journal is filled with photos from my life. My main art journal tells the story of my year, and it can sometimes heavily rely on photos to tell that story.
To get a bit more “artsy” with my photos, I change them to black and white, and fussy cut the background away. You can change the colour of your photo, or add a filter in a variety of ways, including directly in the photo editing software on your computer, an app, or with the site you use to order photos.
TWO: TYPED MANTRAS
Last year was the first time I created “mantras” for myself to guide me through the year. Lessons I had learned that I could easily distill into a short phrase or a few words.
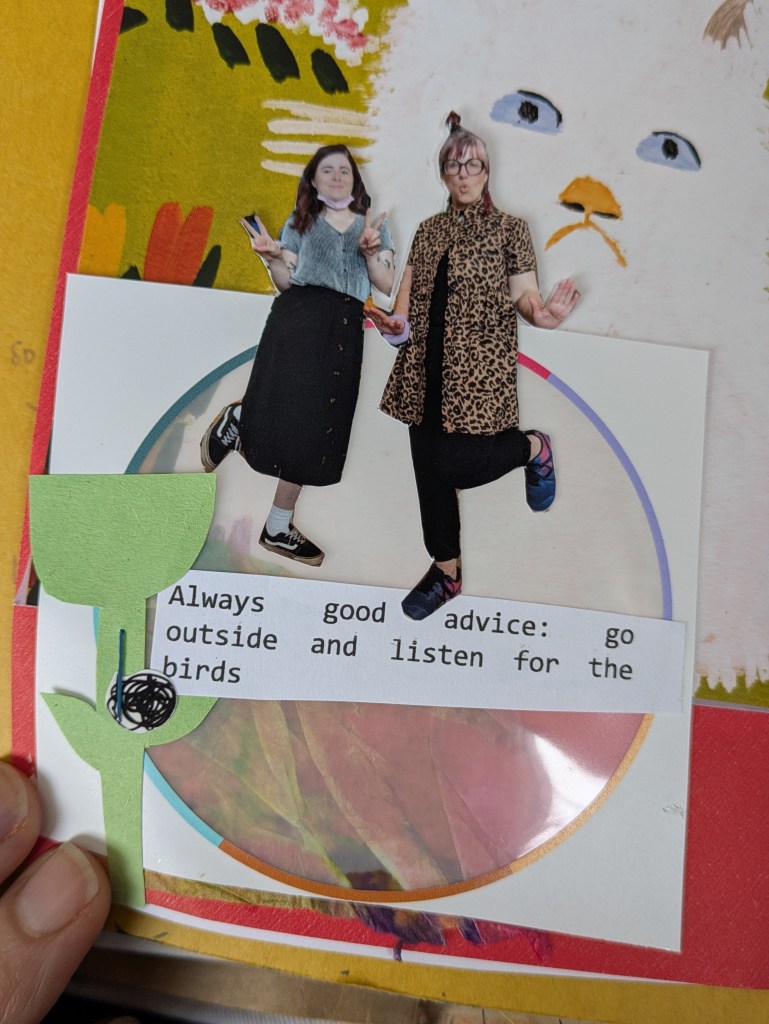
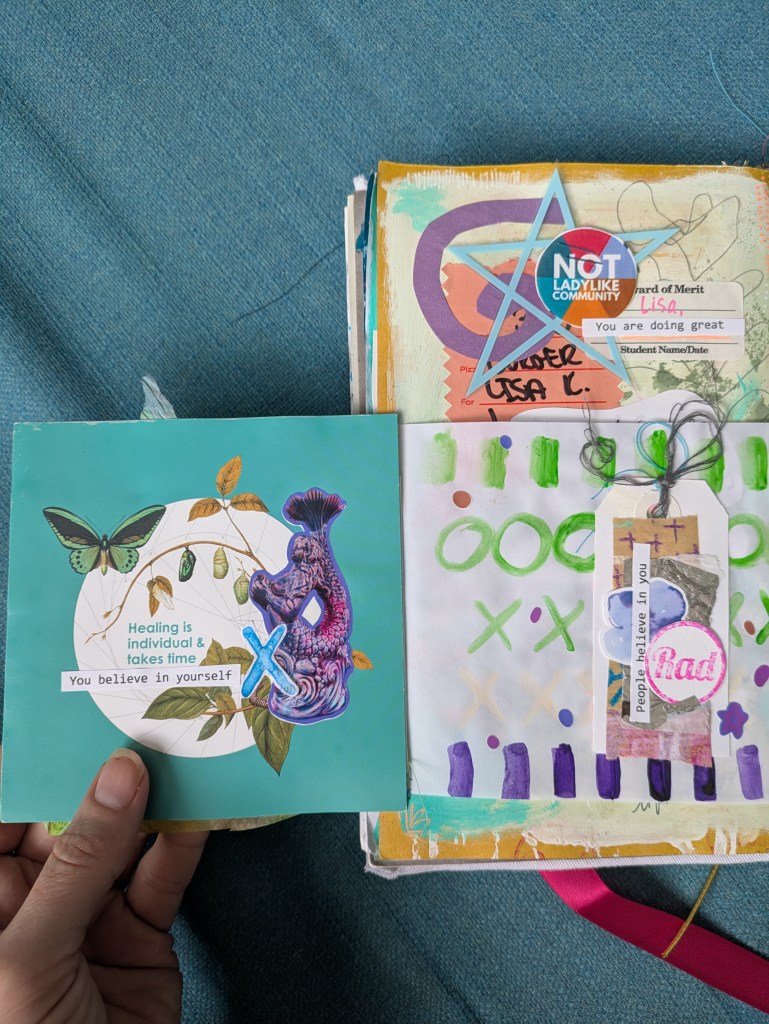
If you don’t have personal mantras, you can easily use sayings, words, poems or quotes that have meaning for you. Open up a blank document, choose a simple font that is easy to read and you won’t get sick of immediately, and start typing!
If you do this at the start of the year, or before beginning your art journal, you can tuck it in with your supplies and cut out words and phrases as you go. That reminds me. I need to refresh mine for 2025!
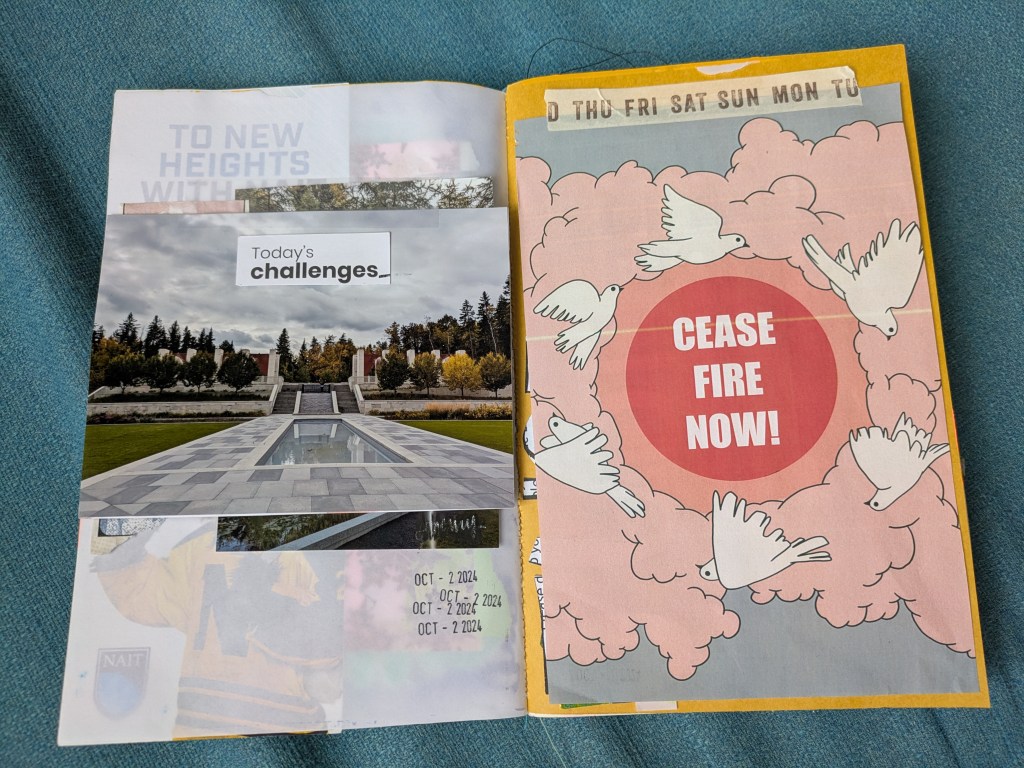
THREE: PACKING TAPE PAPER ROLL
This is a unique technique I first learned about on Instagram from user meghandthemoon. Since then, I have seen it in a few places, but Megh has some great how-to videos, and tips on her IG feed.
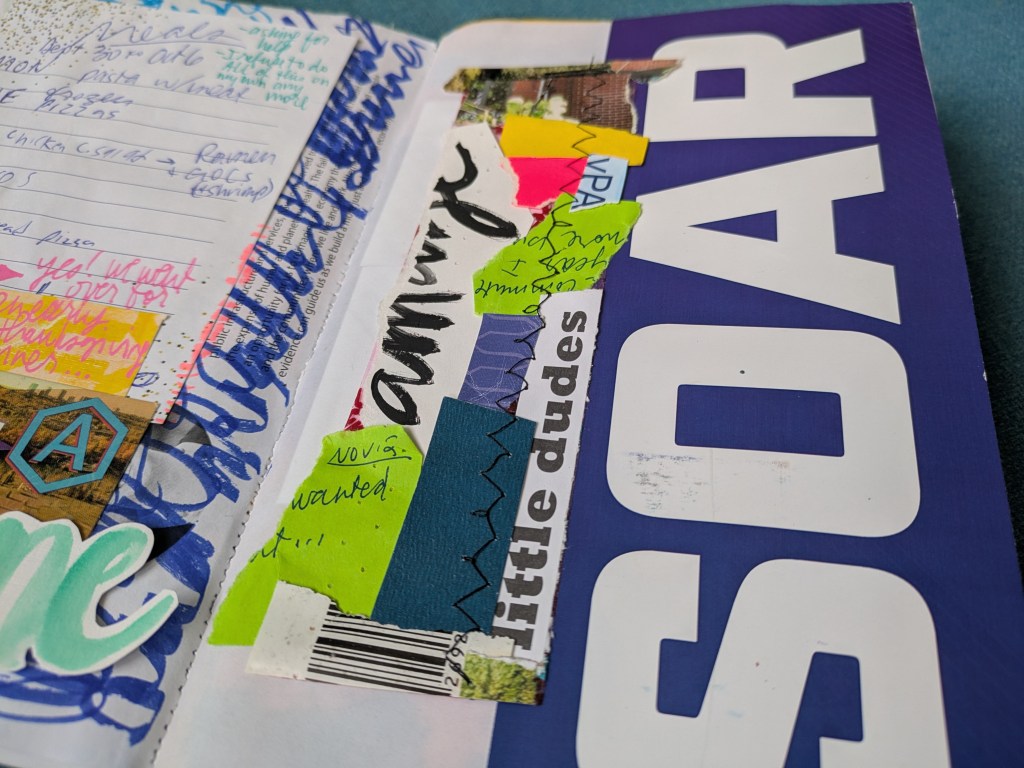
Once I have a few feet completed, I can trim the excess off the edges and turn this into…whatever! I have turned this into tags, adding cardstock to the backside and writing on them. I have also just used strips of this as-is on the page (see SOAR photo above).
How to:
- Grab a roll of packing tape and unroll it 24 cm or 10″, with the sticky side up
- Grab all the bits and scraps of paper on your table after your latest crafting session
- Stick those pieces of paper down on the sticky side of the tape
- Roll it back up and secure with an elastic band for storage. Keep adding to it after each crafting session (or whenever makes sense to you)
Megh oftens gets asked about this technique “what’s the point?” She used to answer “what’s the point of anything”, but she now has a more nuanced response that I really love.
“Doing something random with my hands that doesn’t hurt anyone is a way to shut off my mind for a few minutes and that alone makes it worth doing…the magic is in the making.”
You can (and should) do something just for the sake of it. Plus it can have the added benefit of being fun, beautiful, and a super personal addition to your art journal. I think I will be adding “packing tape paper roll” to my dopamine menu.
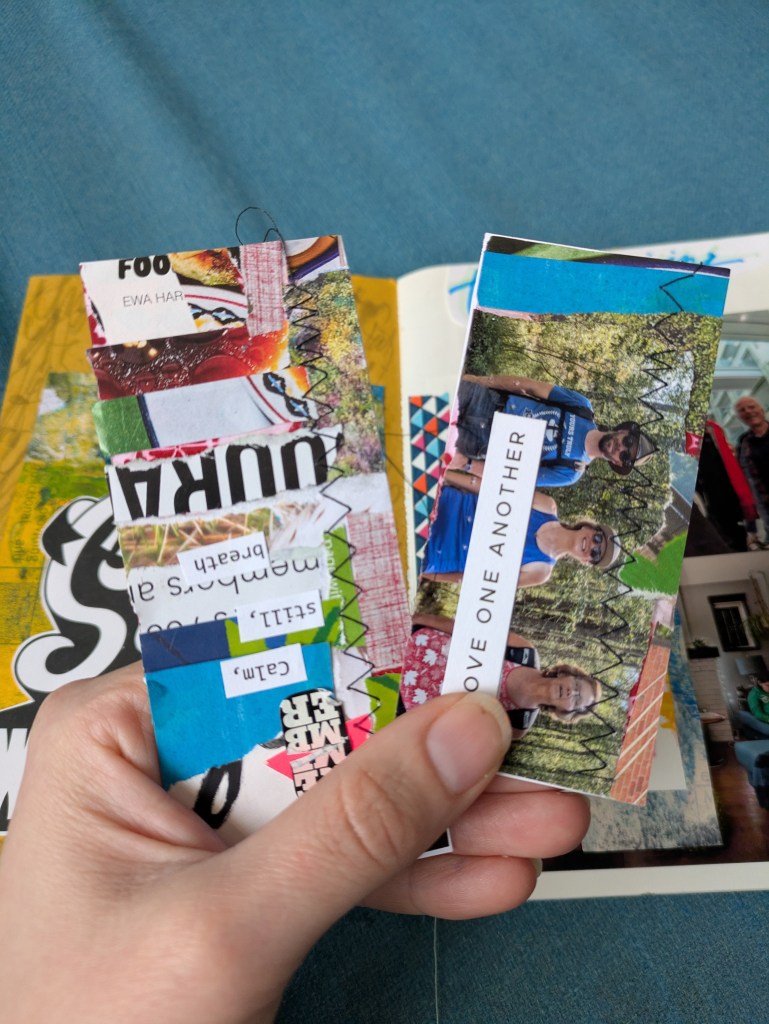
FOUR: MEMORABILIA
“Memorabilia” is my catch all term for any physical item I’ve collected over my life that has a memory attached to it.
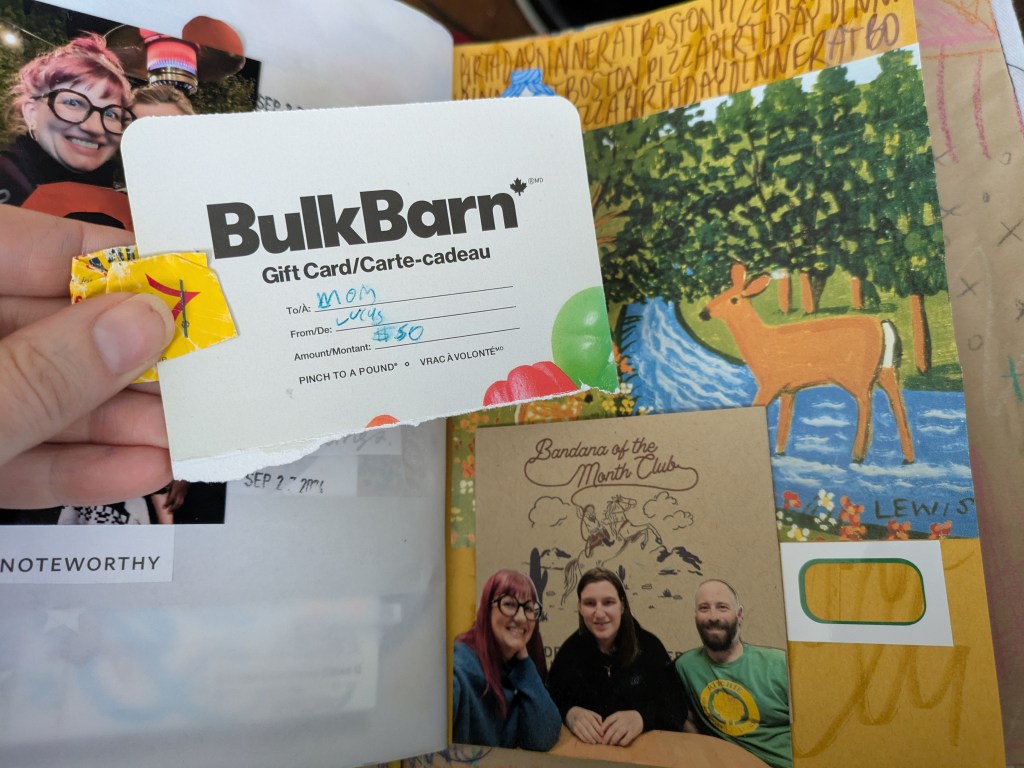
These might even be impersonal items (a label) that only have meaning to you. Or they might be impersonal items that have NO meaning to you, but have cool font, text, or images on it.
This is one of my favourite types of item to include in my art journals because I love repurposing things and diverting from the landfill something that would otherwise be considered garbage.
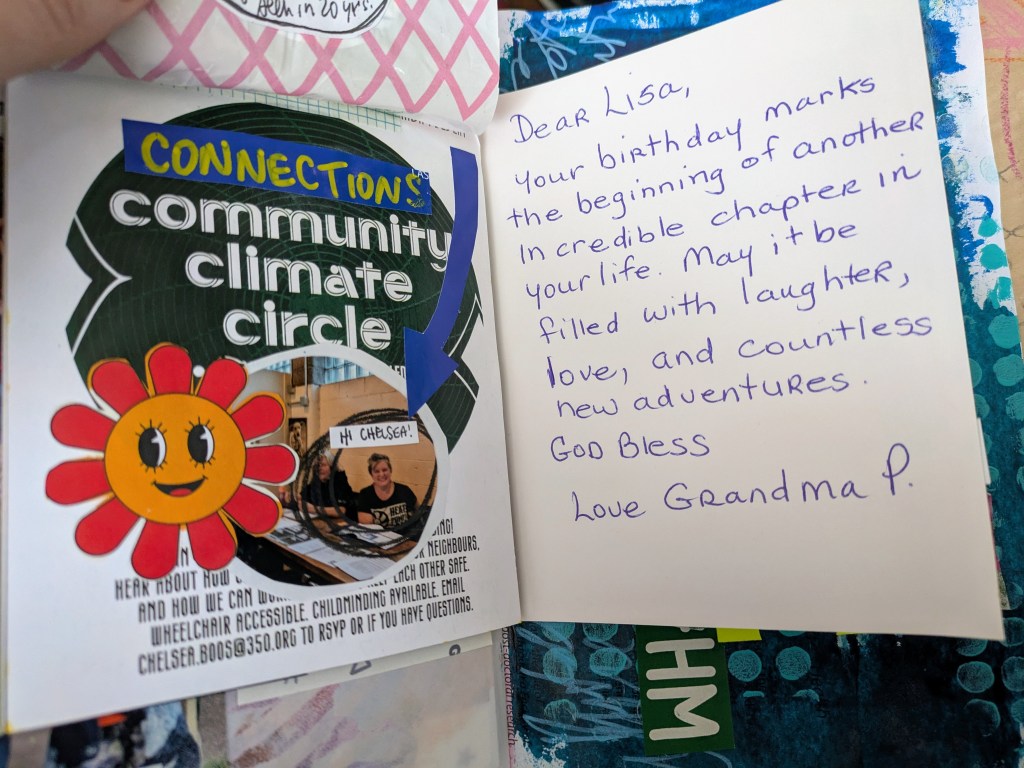
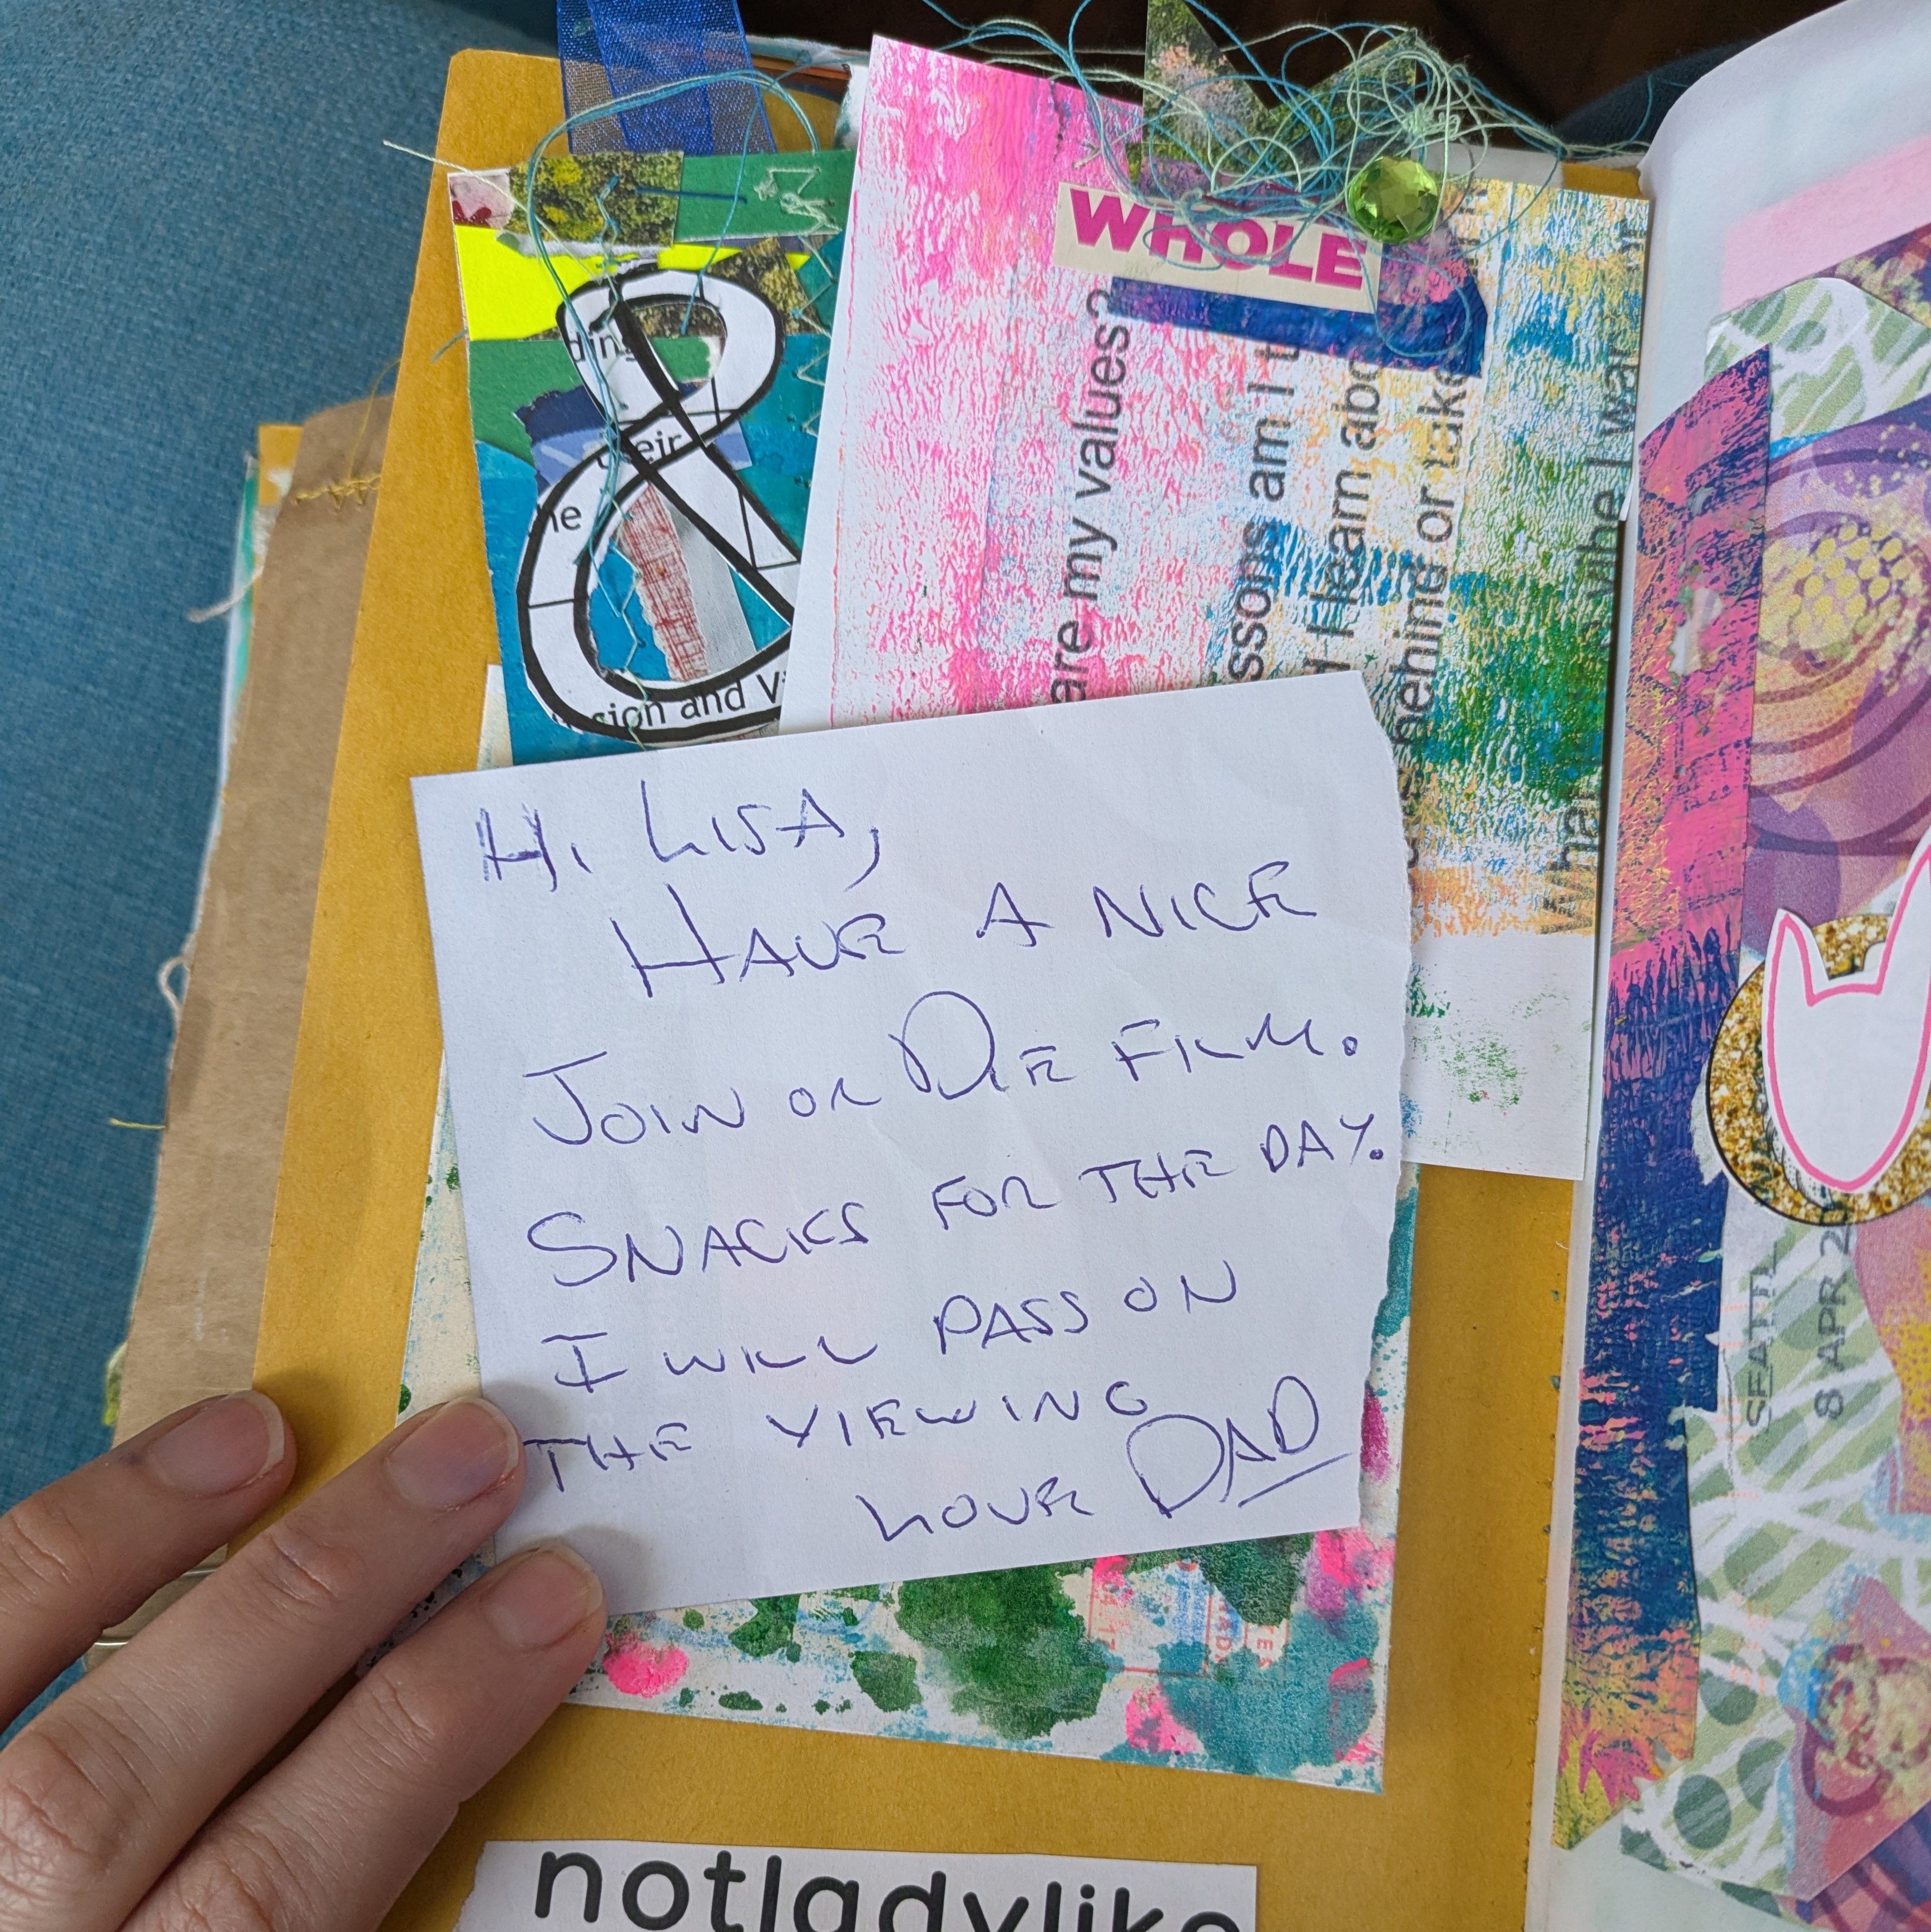
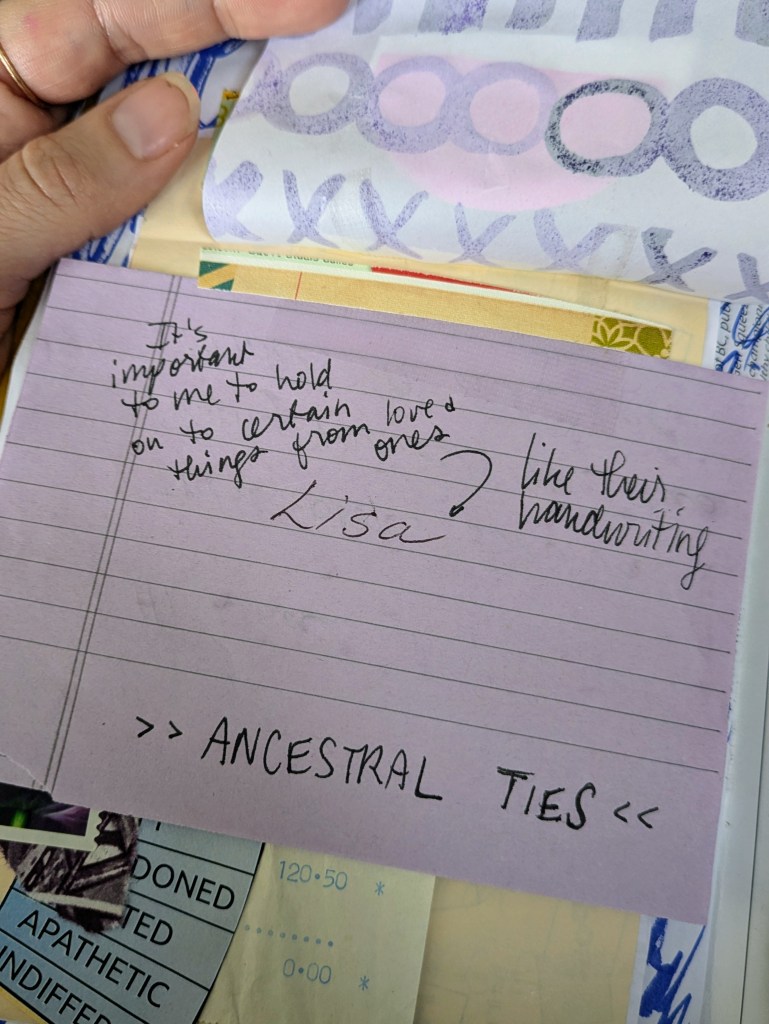
FIVE: HANDWRITING
I am a bit of a paper hoarder, and I love to keep pieces of paper with handwriting on it – mine or otherwise.
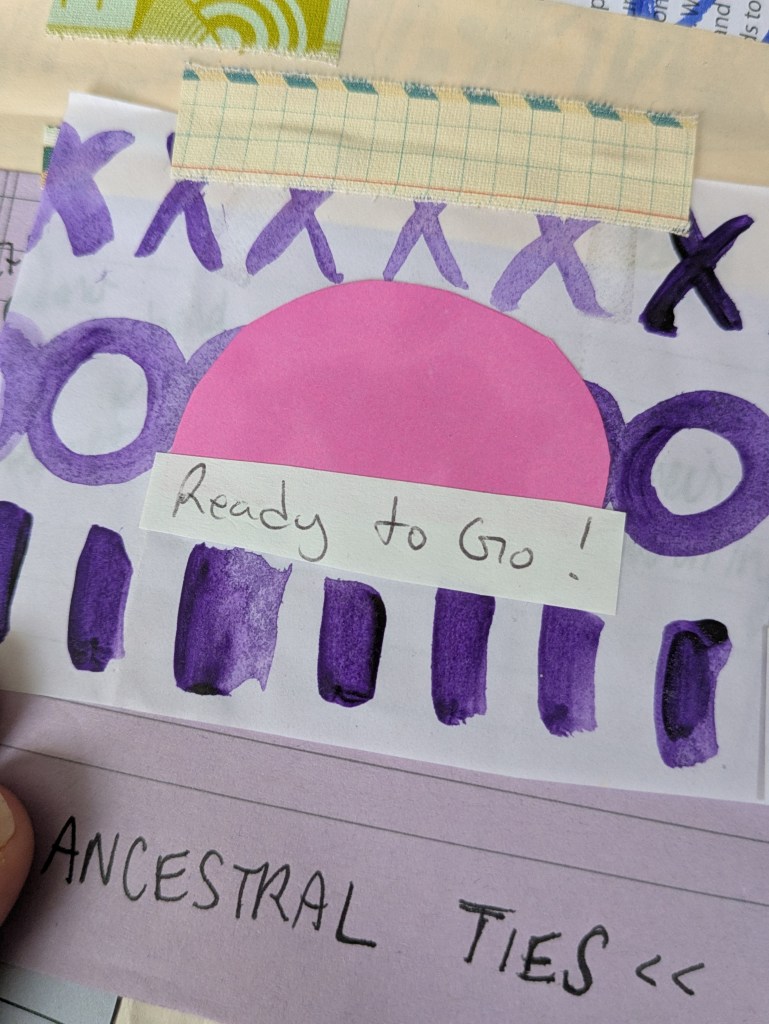
If you are stuck with what to write, an easy prompt that I enjoy and have been using for years (decades?) is “current”. The first scrapbooker I saw using this is Life Love Paper (as “currents”), with rukristin introducing the “currently” version.
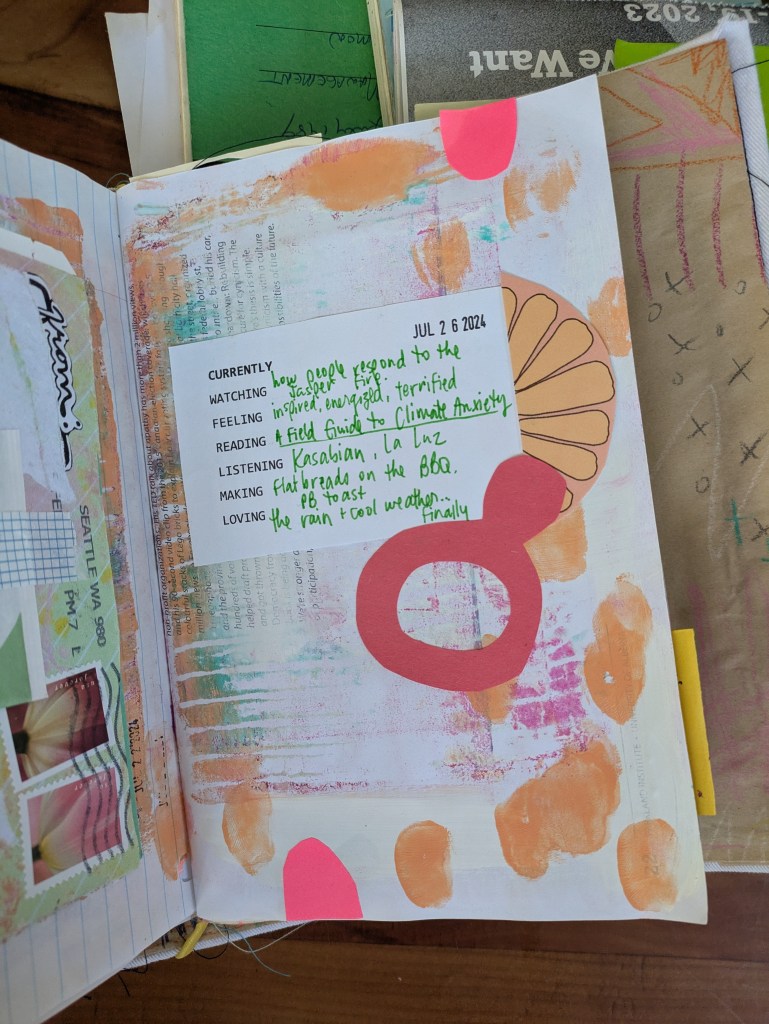
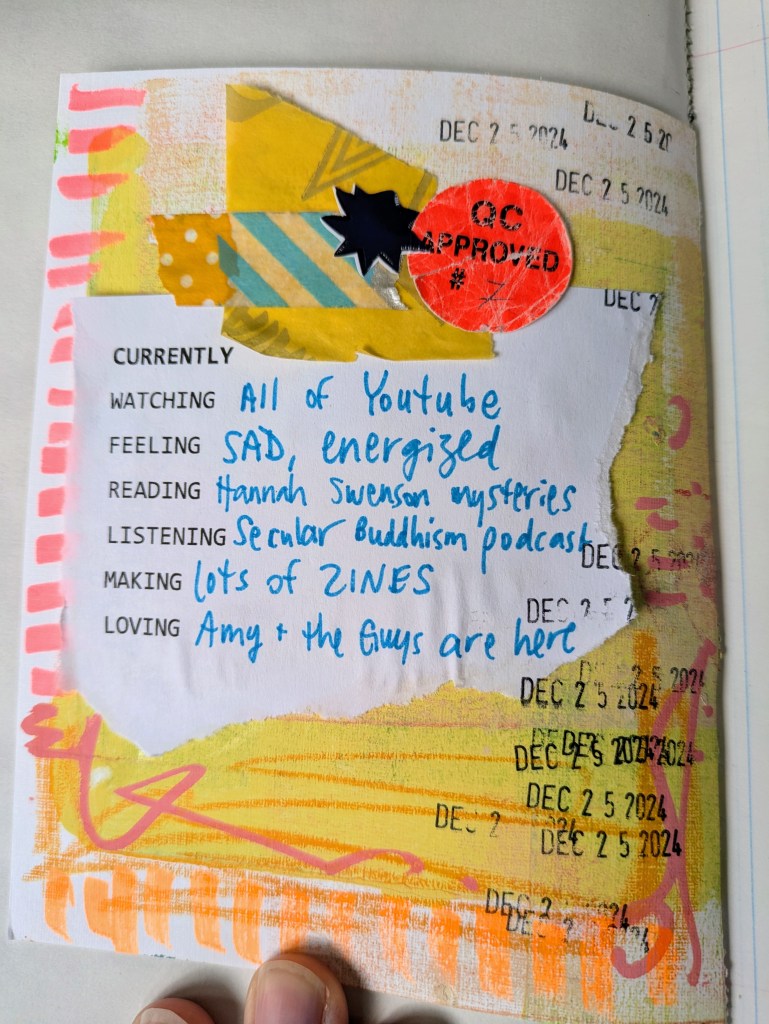
Scroll allllll the way to the end of the post and find a PDF download of this prompt to use in your own journals!
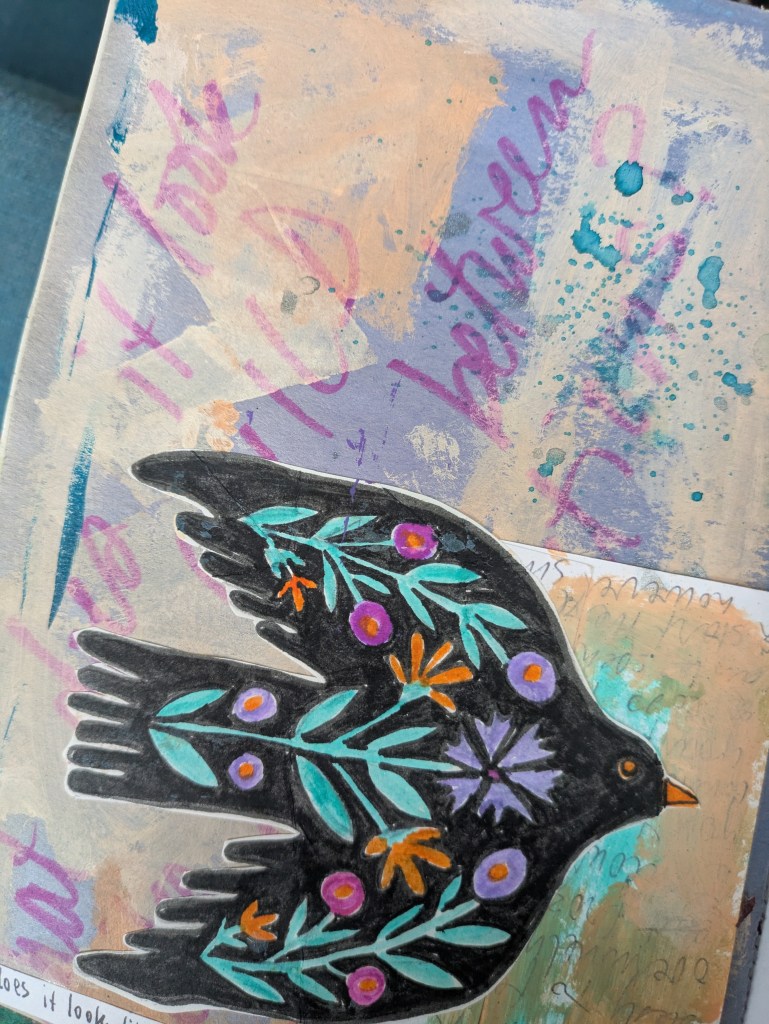
If you are really stuck for what to write, grab a fat marker and write big, expressive letters all over the background of one of your pages. This is great for a few reasons. It helps hide super personal journaling, and it gets past the “blank page” problem when you’re starting on a new spread.
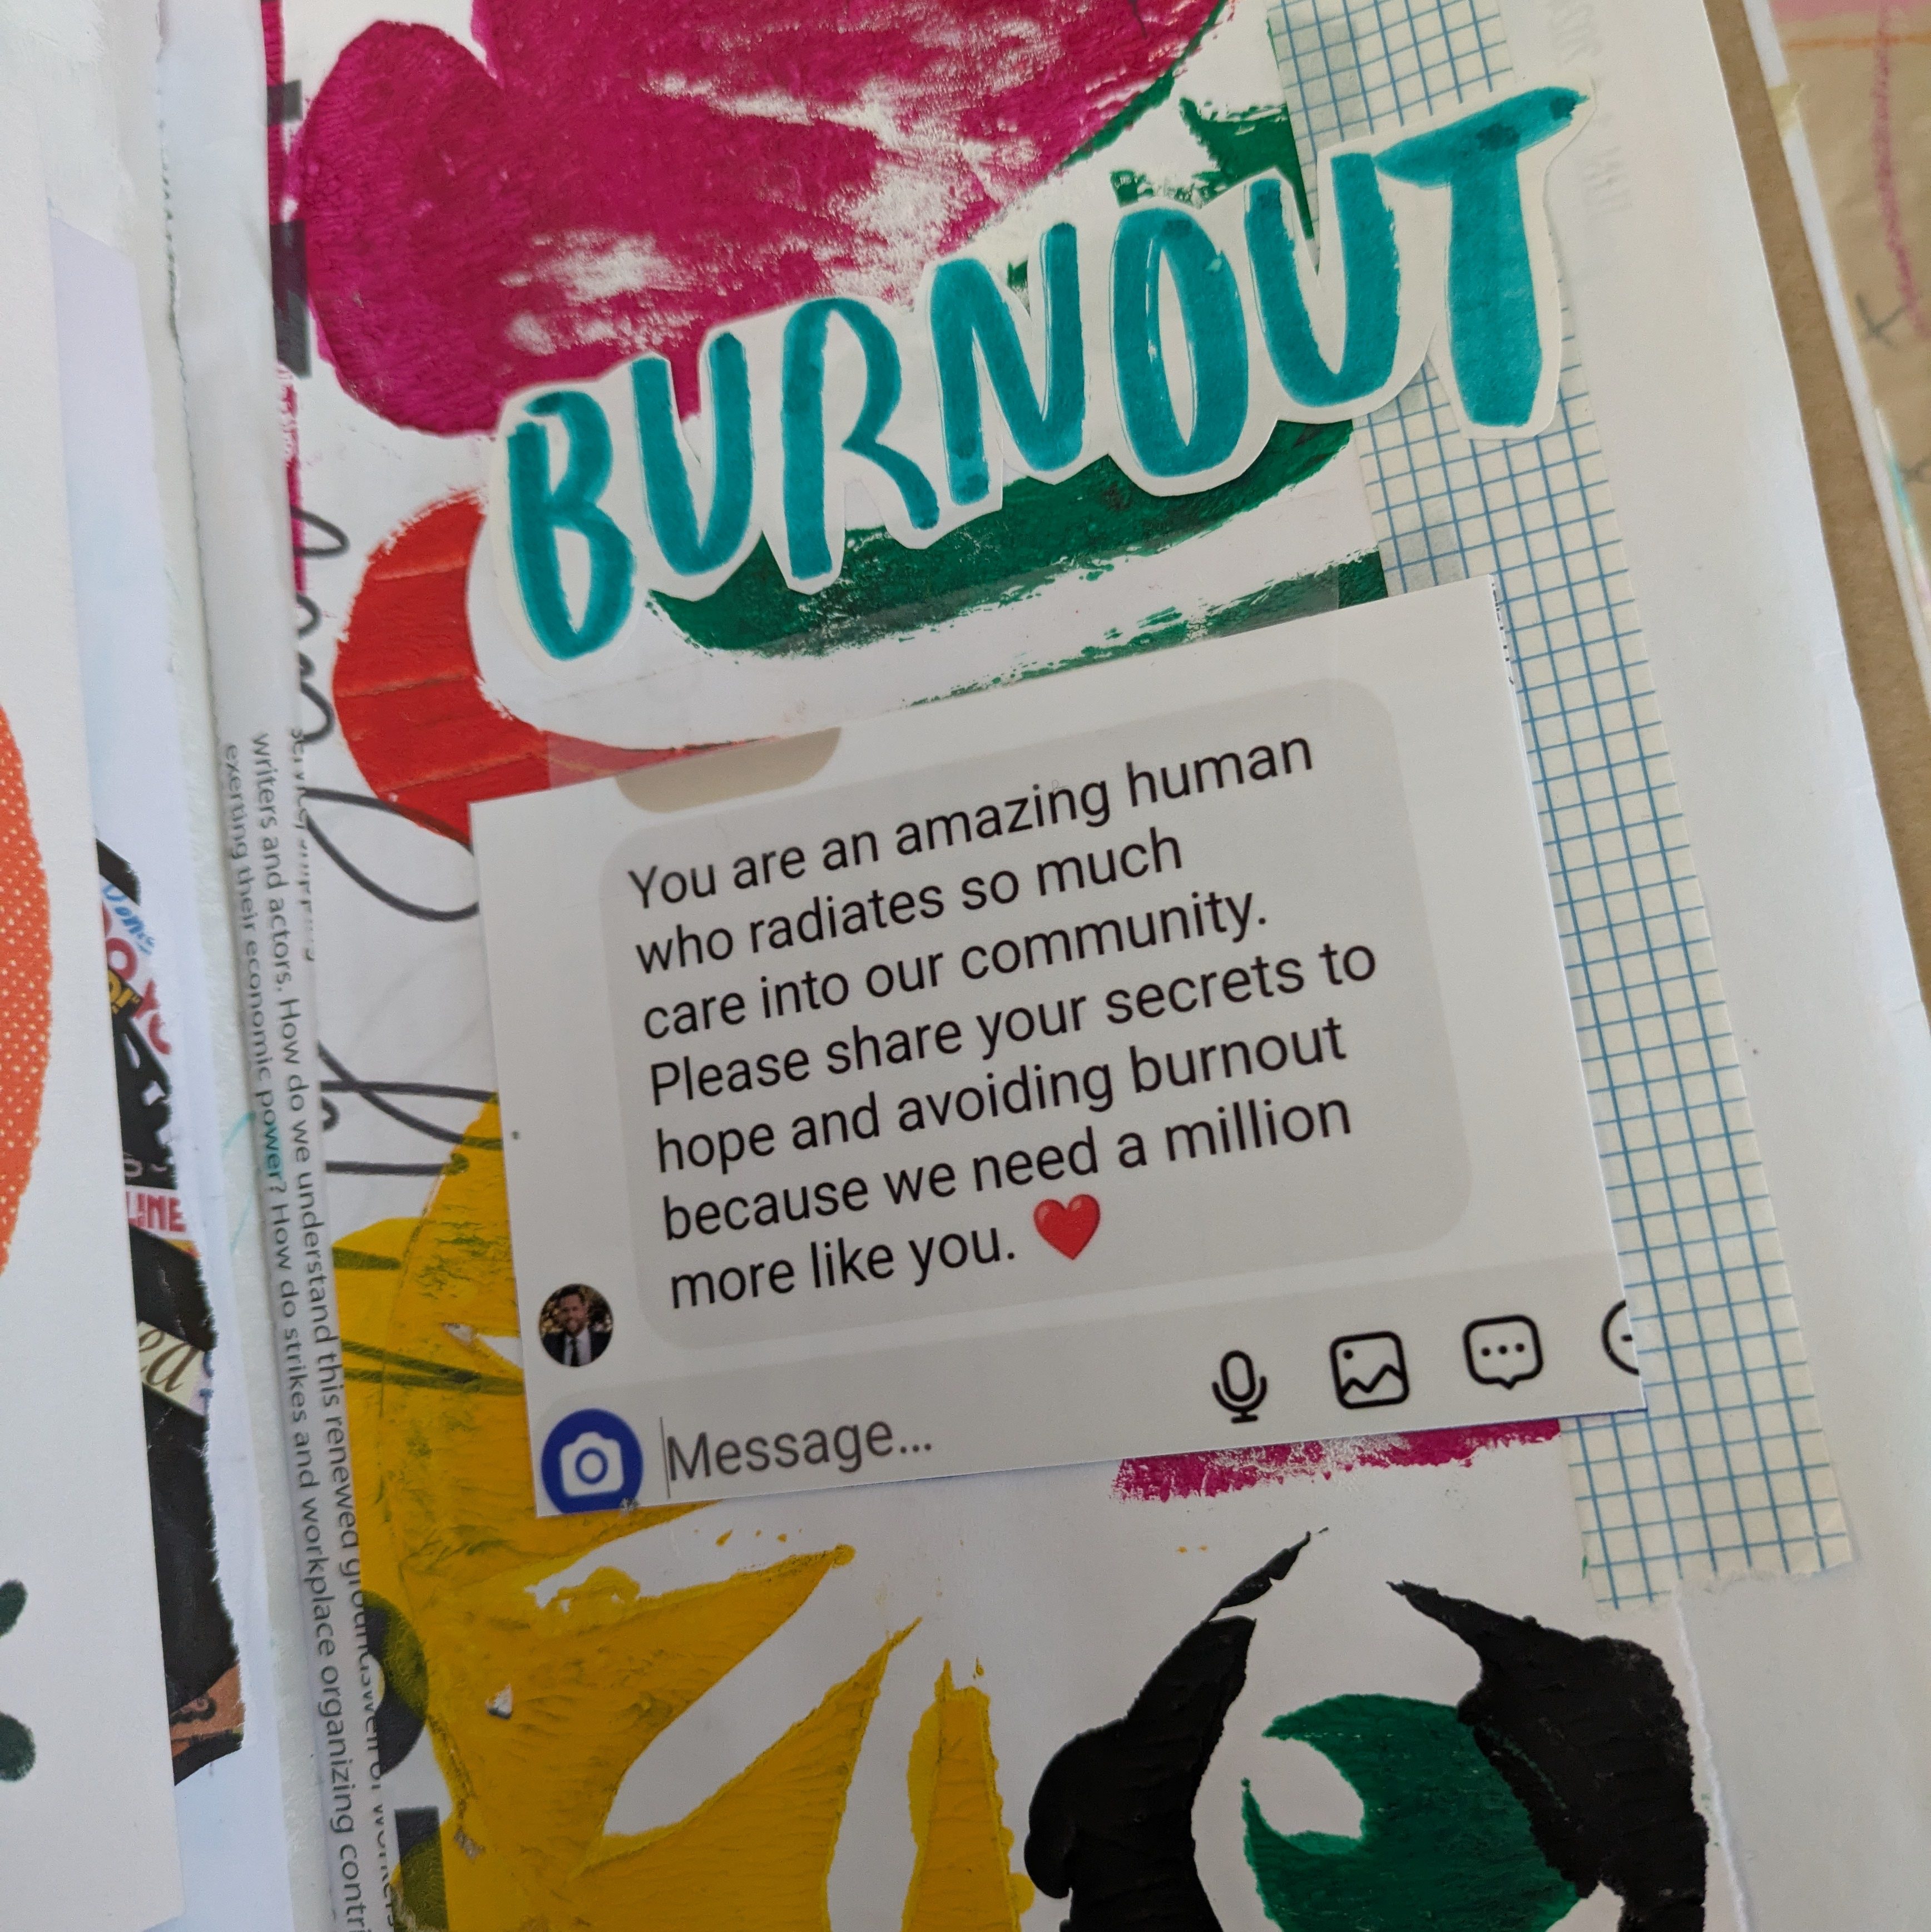
And if you don’t have any handwriting, but want to include a message from another person, you can write or print out a text message. For the page below, I did a screen shot of an instagram message from my city councillor (!) and printed it like I would any photo.
IN CONCLUSION
All art journals are personal because no two humans are the same, but I have seen a lot of classes and videos out there where folks build the exact same spread as each other. They are usually learning a new technique, or practicing with a new tool or supply.
Fair enough.
And unless you’re looking at all of those books side by side, you would never know that it’s a (mostly) carbon copy.
Well, you would know, but someone else wouldn’t 😉
If you want to start to add a bit more of yourself to your art journals, this is a good place to start. Pick one or more of these tips, and get to it!
NOT LADYLIKE COMMUNITY
Do you like art journaling and want to meet up with other crafters/artists to exchange tips, get inspired, and work together quietly?
I don’t have a club/meetup for this yet, but I would love to start one if there is interest. Please send me an email if this is something you are (seriously) interested in. lisakercher@gmail.com
FURTHER READING
All of the examples I shared in this post are from my 2024 Word of the Year art journal, which is the primary art journal that I work in over the year. These tips work for smaller journals and scrapbooks as well. However you want to “arts and craft”, these tips can be made to fit! Here are some other articles and videos about my journals, crafting, and supplies that you might enjoy!
Vlog – Let’s Unpack From Crafternoon!
Building a Summer Scrapbook – One of my Best Ideas
2023 – Top Nine Arts and Crafts
