

5 minute read
I continue to play catch up on sharing this journal with the world. Does that matter? Maybe not so much! But it’s fun to flip through the completed signatures, and revisit my favourite pages or most clever additions.
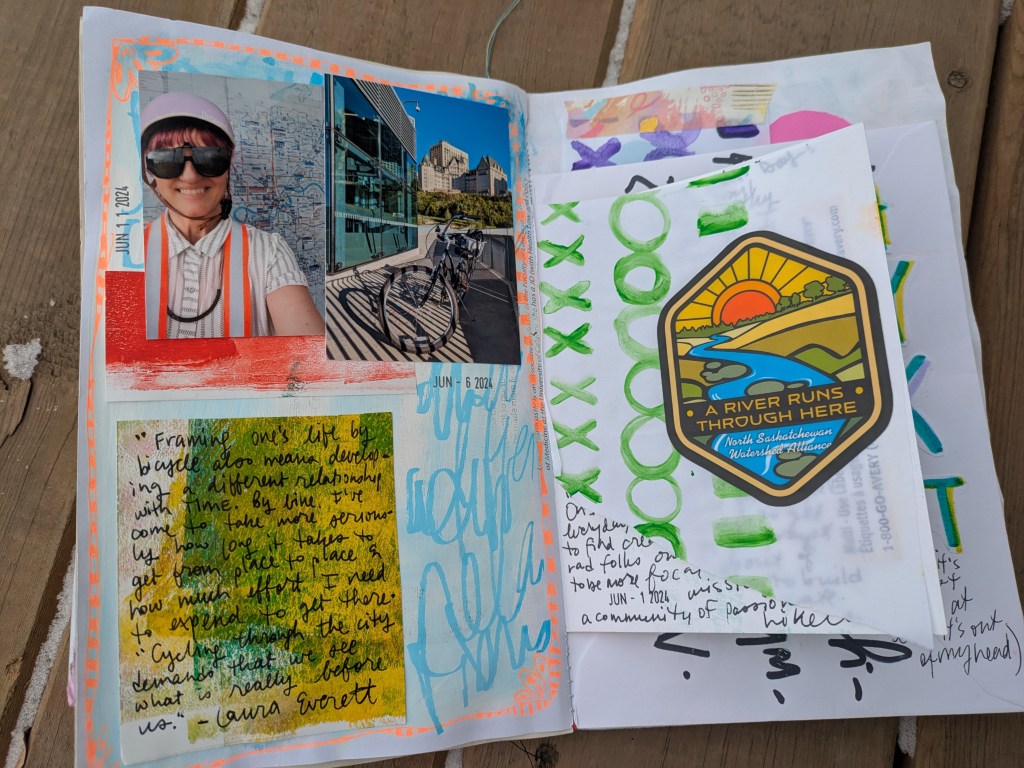
This post covers the April to June signature, and some pages from the July to September signature that weren’t covered in this post. I am posting these pages wayyyyy out of order, but my blog my rules 😂
This post includes a video flipthrough of the July through September signature, along with some technique tips, including:
- how to build a signature
- how to include flip outs and pockets

HOW TO BUILD A SIGNATURE
First up, what is a signature?
In bookbinding, a signature is a group of sheets folded in half, that is worked into the binding as a unit. I create four signatures for the year. Each signature covers three months, and is approximately 20 pages.
In order to build my signatures I follow these easy steps:
- collect 10 to 12 pieces of paper; these can be full 8.5×11″ or smaller papers or even envelopes
- fold them in half (or in whatever size makes sense for the material)
- stitch them together along the fold with a sewing machine
If you don’t have a sewing machine, the last step can be done with a stapler as well. Whatever holds those pages together securely.


I often use scraps for this step, as I know I will be covering some of these pages with paper, paint, stickers, etc. In fact, this is a great way to use up scrap paper or junk mail.
My top tip now that I am old greenie who wants her art to reflect her values is that you don’t need to buy new supplies. I guarantee that you have enough stuff in your home to get you started on an art journal, and if you actually do need to buy things it’s usually consumable stuff like glue.
Just saying.


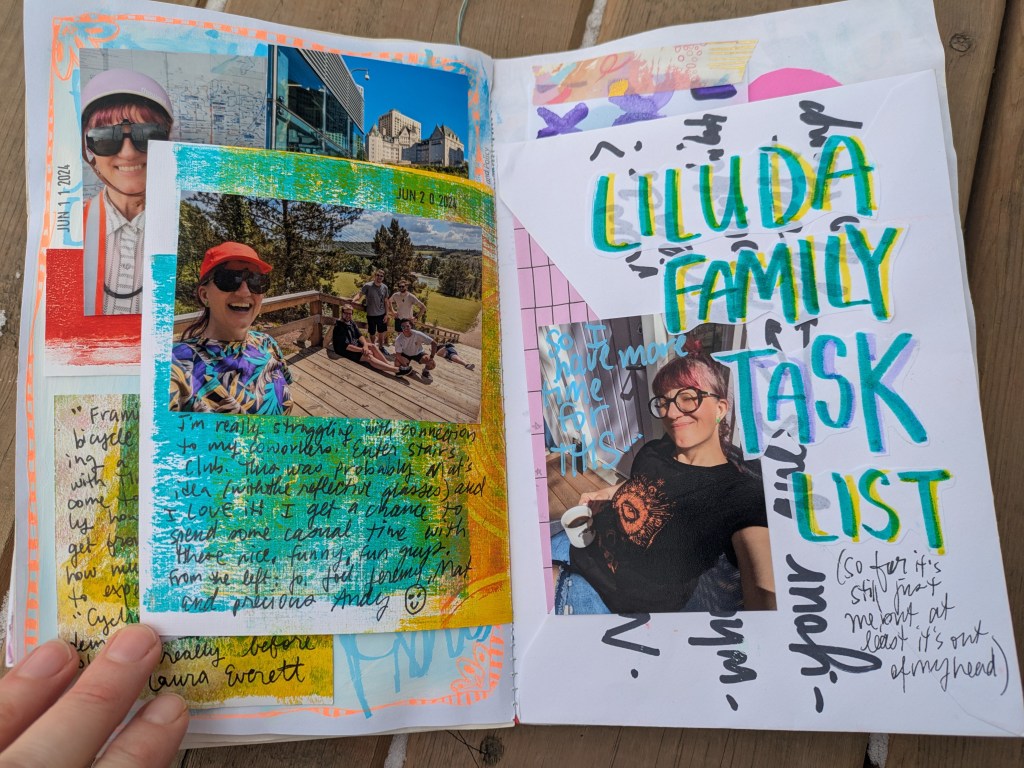
HOW TO ADD MORE SURFACE WHEN YOU START RUNNING OUT OF SPACE
Y’all, I added so many pockets, and envelopes, and flip outs to my second signature. It is a chonky beast now, but I can’t complain! I just learned my lesson and tried to be tighter with my documentation in the next group.
Here are some tips to add more surfaces for journaling or pockets for extra photos and memorabilia.
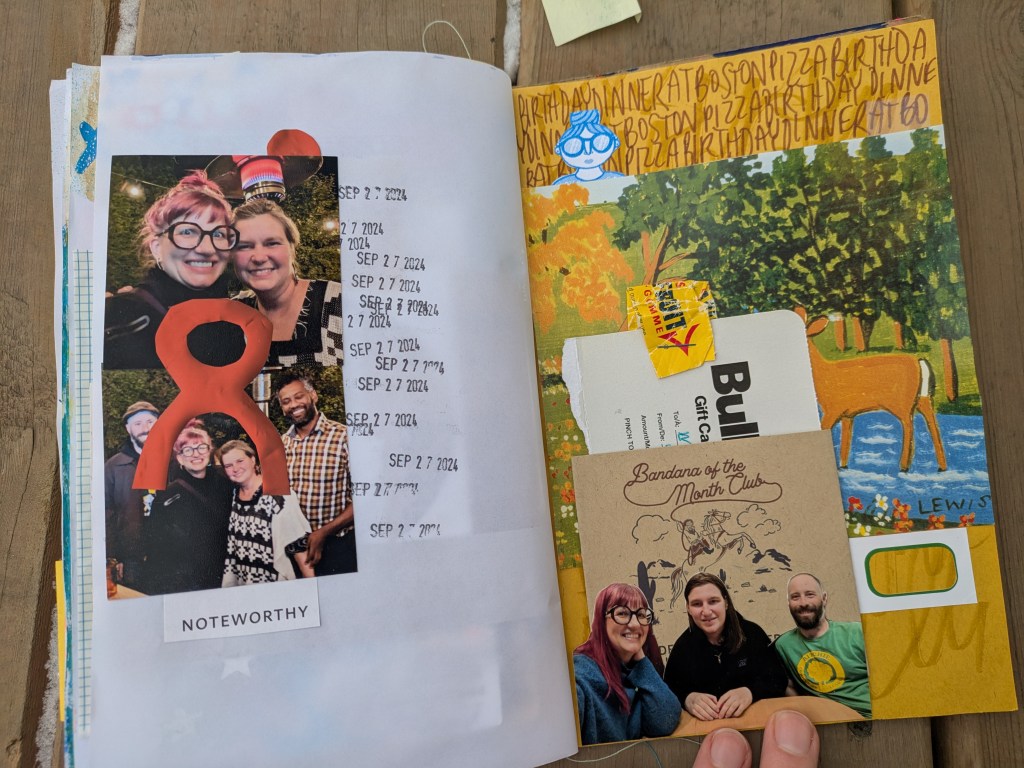
- Tape is your best friend! You can buy some decorative washi tape, or use whatever you have in the junk drawer at home. A line of liquid glue will help if the tape isn’t very sticky.

- Pre-made envelopes can be adhered directly to your page
- Handmade envelopes had more colour or pattern in your chosen style
- Flip ups can be made out of any material, including postcards, scrap paper, vellum or other speciality paper, photos, gift wrap, greeting cards, etc.
I do not recommend using fabric in most cases. I tried that in the first signature and it was heavy, thick and not as cool as I thought it would be.
FURTHER READING AND RESOURCES
I’m cramming a bunch of these updates in over the first quarter of 2025 to catch up. Maybe you’ll get to see most of the book by the time I’m done on here! Here is update number 1, and number 2.


One thought on “Time: An Update on my 2024 Art Journal”